Setup & Configuration
Once you have installed the Editorial Manager plugin, users must configure a storage location for Virtual Publisher on their machine. This location will become the shared space where Virtual Publisher will handle files uploaded from InDesign. To set the storage location, select the dropdown in the top-right of the plugin and select Settings from the dropdown menu. Once you are in the plugin settings under General Settings, you will see the Storage Location field. Select Browse and choose where you would like to store files.
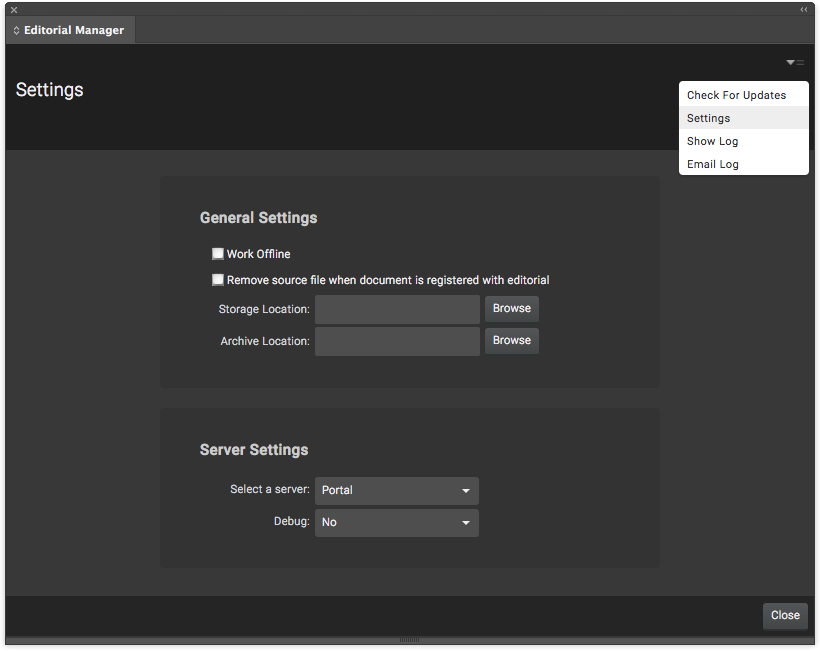
If you do not have a storage location setup, you will get an error upon login that your storage location is not valid.
Using Editorial Manager Plugin
Once you’ve logged into the plugin, you will see your list of editorials from Virtual Publisher. Users can narrow their list by filtering the Publication/Issue/Section across the top of the plugin.

Once an editorial is selected, it will open the details screen for that editorial. This contains information about the editorial such as the headline, slug, who it is assigned to, document status, etc. Users can make changes to the information straight from the plugin.

In the top right of the window, we can see three additional buttons that perform different actions within the plugin:
- Register Document & Link to Editorial
- Selecting this will register and link the current document to the editorial in Virtual Publisher. When this button is clicked, Virtual Publisher will begin to manage the document and the document will be checked-out.
- Refresh
- This will refresh the editorial details within the plugin and update any changes made within Virtual Publisher.
- View More Actions
- Upload
- Uploads the document to Virtual Publisher as either a JPG preview or a hi-res PDF.
- View in Virtual Publisher
- This will open the corresponding editorial within Virtual Publisher in the default browser.
- Create InDesign Document
- This will automatically create a blank InDesign document at the specification size within Virtual Publisher.
- Sync Notes
- This will sync any notes from Virtual Publisher directly to the InDesign document.
- Preflight Document
- This will preflight the document directly in InDesign and provide a preflight report within the plugin for the user.
- Get & Place Ads
- This will pull any ads from the story and place them in their position within the InDesign document.
- Convert Selection to Assignment
- Add Selection to Assignment
- Remove Selection from Assignment
- Toggle Unassigned Text Frames
- Upload
Checking a Document In/Out
Once a document has been linked to an editorial in Virtual Publisher, it will be checked out automatically and ready to be worked on by the user. When a user is done working on a document, they will check the file back in which will save the changes made. When the user is ready to work on the document again, the user will check the document out.
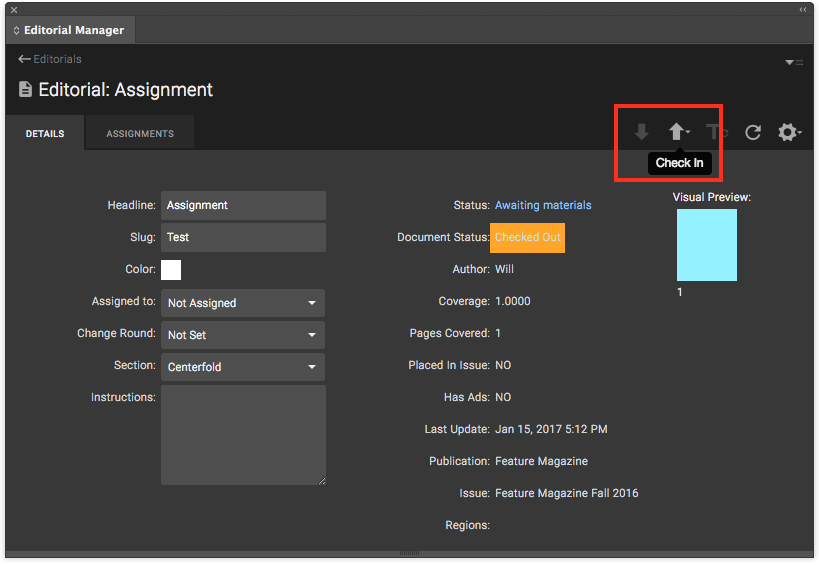
To do this, simply select the corresponding check in/out button located at the top right of the plugin. These buttons will only be available if the document has been registered and linked to Virtual Publisher.
Users have several different choices when checking a document in:
- Check-in with Preview
- This will check the document in and upload a JPEG preview of the document to the book plan in Virtual Publisher.
- Check-in with PDF
- This will check the document in and upload a hi-res PDF of the document to the book plan in Virtual Publisher.
- Check-in and Close
- This will check the document in and close the InDesign document. All changes will be saved.
- Check-in and Don’t Save
- This will check the document in, but it will not save any changes that have been made.
Uploading
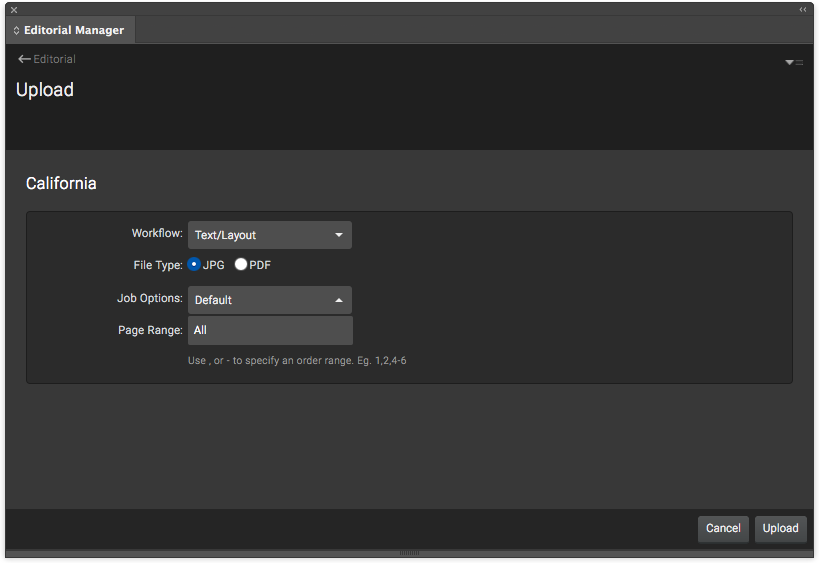
When a user is finished working on a document, users can upload their files directly from the plugin as either JPG previews or hi-res, print-ready PDFs.
To upload a document, select View More Actions > Upload. This will open a new window where users can select the workflow, file type, job options and page range they wish to upload.